Installing a 50 ton overhead crane is a substantial undertaking that demands meticulous planning, skilled labor, and strict adherence to safety protocols. This comprehensive guide will walk you through the step-by-step process, ensuring a seamless and successful installation.

Pre-Installation Preparation
1. Site Assessment and Preparation
Begin by conducting a thorough assessment of the installation site. Ensure that the floor is level, load-bearing, and free from any obstructions. Verify that the structural integrity of the building can support the crane’s weight.
2. Foundation Construction
Constructing a robust foundation is paramount. This involves excavating the designated area, pouring reinforced concrete, and allowing it to cure adequately. The foundation’s dimensions and specifications should align with the crane’s requirements as outlined in the manufacturer’s guidelines.
3. Electrical and Mechanical Readiness
Ensure that the electrical supply and mechanical systems, including power lines, control panels, and other essential utilities, are in place and compliant with local regulations. Consult with a qualified electrician to verify the electrical setup.
Assembling the Crane Components
4. Unloading and Organizing Components
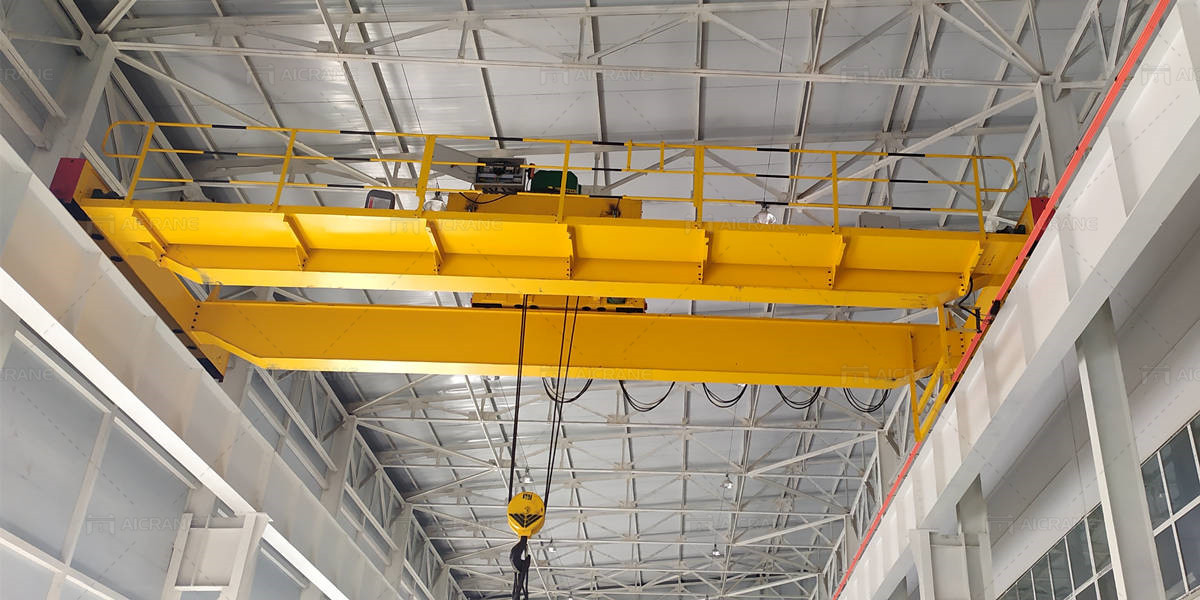
The 50 ton overhead crane is usually double girder overhead crane. Upon delivery, carefully unload all components and arrange them according to the manufacturer’s specifications. Organize parts systematically to streamline the assembly process.
5. Assembly of End Trucks
Begin by assembling the end trucks, which house the wheels that run along the crane runway. Ensure that all connections are secure and that the wheels move freely.
6. Bridge Girder Assembly
Next, assemble the bridge girder, which spans the width of the overhead crane. Attach the end trucks to the girder, ensuring proper alignment and secure fastening.
7. Hoist Trolley Installation
Mount the hoist trolley onto the bridge girder. This component will house the hoist mechanism responsible for lifting and lowering loads.
8. Hoist Installation
Install the hoist onto the trolley according to guidelines of the crane manufacturer. Verify that all connections, including electrical wiring and safety features, are in place and functioning correctly.
9. Runway Installation
Install the runway beams along the designated path, ensuring precise alignment and levelness. Anchor the beams securely to the building’s structure.
Final Installation Steps
10. Electrical Wiring and Testing
Engage a licensed electrician to complete the electrical connections. This includes wiring the crane’s controls, power supply, and safety features. Once wired, perform thorough testing to ensure all functions operate smoothly.
11. Alignment and Calibration
Conduct a comprehensive alignment check to guarantee that all components are properly positioned and move smoothly. Calibrate the crane’s controls and safety systems to meet operational requirements.
12. Load Testing
Before putting the crane into full operation, perform load testing using certified test weights. This verifies that the crane can handle its rated load capacity safely and efficiently.
13. Safety Inspections and Certification
Engage a qualified inspector to conduct a final safety inspection. Ensure compliance with local regulations and obtain the necessary certifications before commencing full-scale operation.
Installing a 50 ton overhead crane demands meticulous planning, skilled labor, and strict adherence to safety protocols. By following this comprehensive guide, you can ensure a seamless and successful installation process, setting the stage for efficient and reliable crane operation in your facility.